Wednesday, September 18, 2013

Elmo

Yes, I will be doing the one and only

ELMO

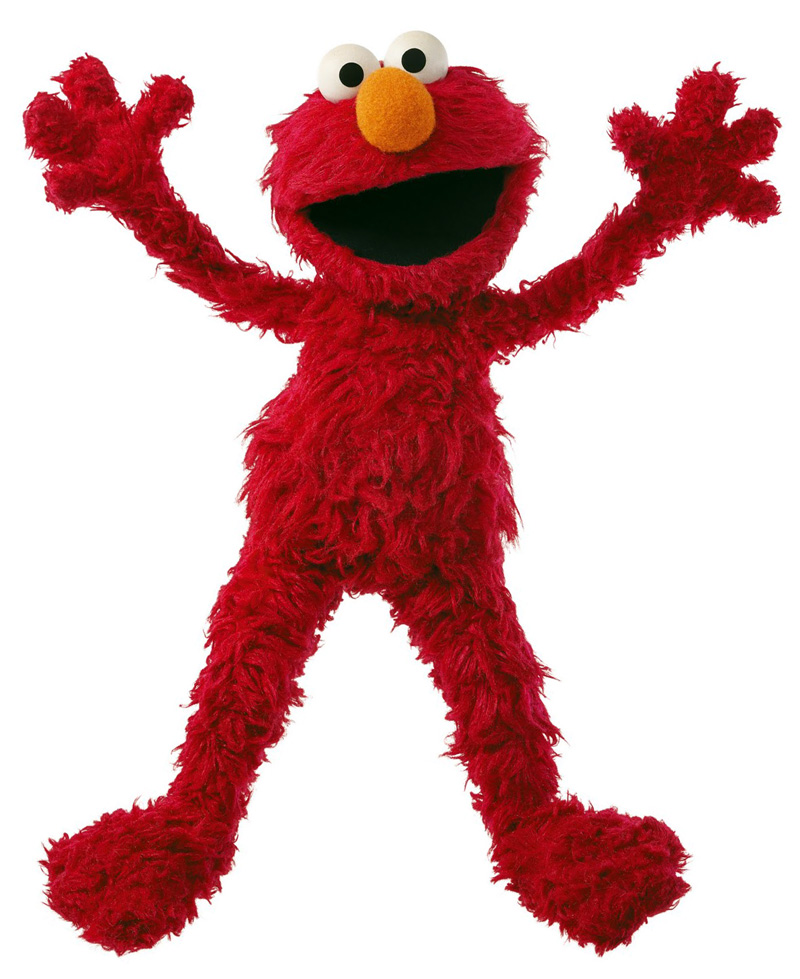
ONLY because he is now the "so-called" star of Sesame Street. 

Grover is cuter and should be in Elmo's place, sorry Elmo!

But I realized, you can't have a puppet show with Sesame Street replicas without Elmo.

Materials

  1. "Red" Ultra Cuddle Fabric - This fabric is SUPER soft, they don't call it Ultra-Cuddle for nothing! We have a blanket made of this material. If you look closely at it, it is kind of fur-like, but it's nowhere near the same feeling as fur. I got a yard of this on sale for $7.69 a yard. I only bought one yard of it.
  2. "Red" Coats and Clark 250 Yard Thread - This matches up nicely with the Red Ultra Cuddle fabric.
  3. "Tangerine" Blizzard Fleece - This is a different type of fleece used in this project, Blizzard fleece. It's more flat and soft than Anti-Pill fleece. But it turned out we had the "Tangerine" shade only in Blizzard fleece, not Anti-Pill fleece, at our Jo-Ann store. I only got 1/8th of a yard to create Elmo's nose.
  4. White Egg-Shaped Styrofoam - This will be the shape and base of Elmo's nose. 
  5. Ping Pong Balls - I bought these ping pong balls for $3.99 at "Play it Again Sports" store. These will be cut in half to be used for Elmo's eyes.
  6. White Apple Barrel Acrylic Paint - I bought this prior to my muppet supply shopping, but I have it just in case I need to cover the wording on the ping-pong balls.
  7. Smooth-Styrofoam Ball - I bought a pack of these to use as an alternative in case the ping-pong balls turn out to be too small for the eyes.
  8. Black Felt - I will be using 2 sheets of black felt to create Elmo's mouth.

Kermit the Frog

Although he is no longer on Sesame Street, he is still an ORIGINAL! He was once the star of sesame street, but is currently the star of "The Muppets" series! The one, the only...

Kermit the Frog  


or as Grover calls him... "Froggy Baby!"


MATERIALS

It's not as much as the other muppets, I know! Kermit doesn't have as many features, neither does Grover, but Grover has more materials only because of the dye. Kermit's budget was the cheapest!

  1. "Spinach" Anti-Pill Fleece - I bought a yard of this for Kermit's skin. This was the perfect shade of green to use!
  2. "Bright Chartreuse" Cozy Flannel - This will be used for Kermit's neck piece/collar. It had the perfect shade of green with a little yellow. Side by side, the fleece and the flannel look great together! I bought a half a yard of this.
  3. "Kiwi" 250 Yard Coats and Clark Thread - This Kiwi color actually looks good against both the Spinach colored fleece and the Chartreuse Flannel.
  4. Ping Pong Balls - I bought these ping pong balls for $3.99 at "Play it Again Sports" store. These will be cut in half to be used for Kermit's eyes. Grover once described Kermit's eyes as "Two Ping-Pong Balls floating in a sea of mildew!" LOL
  5. White Apple Barrel Acrylic Paint - I bought this prior to my muppet supply shopping, but I have it just in case I need to cover the wording on the ping-pong balls.
  6. Smooth-Styrofoam Ball - I bought a pack of these to use as an alternative in case the ping-pong balls turn out to be too small for the eyes.
  7. Felt - I will be using "Black", "Red" and "Light Pink" felts for Kermit's mouth.


Abby Cadabby

Off to the next most expensive Muppet to do. I don't know her personally, since I didn't grow up to her... she is one of the newer generation muppets. Since there will be a lot of girls at the party, I thought I would entertain them by creating...


ABBY CADABBY

MATERIALS

NOTE - The supplies below will be used, but I have more supplies I need to create other parts of her outfit! The list is NOT complete!


  1. "MD Pink" Anti-Pill Fleece - This is the perfect shade of pink to be Abby Cadabby's skin. (This is the same shade of pink I used for Grover's nose). I bought a yard of this for Abby's skin, then 1/8 of a yard for Grover's nose.
  2. "Bubble Gum Pink" Coats and Clark 250 Yard Thread - This is the closest colored thread to match the "MD Pink" fleece.
  3. Instant Style "Spring" Tier Band - This is pretty much like a pre-made dress! We sell this at our Jo-Ann store by the inch! I only needed about 15 inches of this, and for that, it only cost $6.00. I figured this matched Abby Cadabby's dress the best.
  4. "Lilac" Coats and Clark 250 Yard Thread - This is the same thread I will be using for the Count's skin. I only need a little bit of it to sew Abby Cadabby's dress. It matches the purple in the dress closely enough, I wasn't going to buy another color for only a little bit of sewing.
  5. "Cotton Candy" Lion Brand Fun Fur Yarn - The colors in this yarn comes pretty darn close to Abby Cadabby's pigtails! I bought two of them at Michael's Arts and Crafts for 50 percent off!
  6. "Confetti" Lion Brand Fun Fur Yarn - The colors in this ball of yarn match pretty closely to the pom pom on Abby Cadabby's wand! Again, I got it 50 percent off at Michael's Arts and Crafts!
  7. "Daisy" Recollections Scrap-booking stickers - These are great to use for the flowers in Abby's hair, wrapped around the pigtails! The yellow part in the daisies have glitter on it, even better! I could only find this at Michael's Arts and Crafts.
  8.  Dollar Wand - In the girl's section at Michael's I found this wand with a foam star and some ribbons attached to it. It was only a dollar, and I took the star off the tip of the pink plastic rod to create Abby's Wand from Scratch.
  9. "Creatology" Pink Craft Kit - This kit actually and recently been removed from Michael's inventory! I only got it for ONE CENT because of it! HOLY MOLY! What a deal! It comes with White, Pink and Purple pipe cleaners, and pipe cleaners with glitter! It also comes with pom-poms in the same colors and googly eyes! The pipe cleaners will be hot-glued together to make Abby's wand! The larger Magenta pom-poms will be used for Abby's nose! 
  10. "White" Grizzly Faux Fur - If Grover's blue-dyeing technique works out, I will do the same for Abby's hair! Abby's main hair color is purple, and I will dye it purple!  I bought only a half yard of the fur, like I'm doing with the Count's hair!
  11. Purple Rit Dye - I got another 8Oz Bottle of Rit Dye, which is purple colored. This will be used to dye the Faux Fur purple for Abby's hair!
  12. Purple Acrylic Paints - I bought a "Plum" colored Craft Smart paint from Michael's and "Grape" colored Tulip Fabric Paint from our Jo-Ann store. These will be mixed in to create a dramatic purple color for Abby's hair, if it works!
  13. Black Feather Boa - I will be using this for Abby's eyelashes! All it takes is two snips of it, aand instant eyelashes are done!
  14. Felt - I will be using the "Black", "White" and "Turquoise" colored felts for Abby Cadabby's eyes. The "Pink" and "Red" felts will be used for Abby's mouth.

Grover

Here is all the stuff for my ULTIMATE Favorite Muppet, "The Cute, Loveable, Blue, Furry Pal",


GROVER


MATERIALS


  1.  "White" Grizzly Faux Fur - NONE of the Jo-Ann stores carry a Blue Faux Fur fabric to use! So, I bought some "White" Grizzly Faux Fur. This is 70% Acrylic and 30% polyester. I bought a yard of this for Grover's body. I did some careful research, and I decided I am going to dye it blue! You may be thinking, how can you dye synthetic fur? Well, here is a blog I am referring to and will be attempting to dye from!... http://www.furnation.com/big_bad_wolf/coloring.htm
  2. "Navy Blue" Rit Dye - This is the dye I will be using to color Grover's fur. This is the most accurate blue to match his current colored fur on Sesame Street. Although this shade is a little darker, I will be adding some brighter blue Acrylic paint to the mix to give a more vibrant color. It's only $3.99 for an 8oz bottle, not bad! I used a coupon on it, of course!
  3. "Royal Blue" Tulip Slick Fabric Paint - This is an acrylic-based fabric paint, so it's perfect to add to the Acrylic fibers in the faux fur! I will mix this in with the Rit Dye. I got this for $1.79 at our Jo-Ann store!
  4. "Royal Blue" "Craft Smart" Acrylic Paint - This can also be used with the Rit Dye and the Fabric dye, to ensure a nice and bold blue-colored fur. This is about 69 cents at Michael's.
  5. "Tulip" Brand Latex Gloves - It's VERY important you use latex gloves when it comes to dyeing anything, because the dye can stain your fingers, and it will be difficult to wash off. Also use scrappy, old clothing when dyeing something.
  6. Felt - I will be using "Red" felt for Grover's lips, and I will be using 2 sheets of "Black" felt for Grover's inner mouth.
  7. White Plastic Spoons - I will use two white plastic spoons for Grover's eyeballs. I will cut the handle off the spoon and use the actual spoon parts for the eyeballs. I will probably use a sharpie marker to draw the pupils.
  8. White Egg-Shaped Styrofoam - This will be the shape and base of Grover's nose. 
  9. "MD Pink" Anti-Pill Fleece - I will be using only 1/8 of a yard of this pink fleece to cover the egg Styrofoam piece to create the skin for Grover's nose.

    Grover will be the first Muppet I attempt to make! I'm SO Excited!!!

Count Von Count

Let's begin with the most expensive Muppet used for this project. Since Halloween is coming up and since he is one of the most popular characters on Sesame Street, I decided I wanted to create...
Count Von Count


Materials

  1. "Pink-Lavender" Anti-Pill Fleece - This color is the most accurate color to the Count's skin. I bought a yard and a half of this. For the head and body, I will only need a yard, but I added an extra half a yard because I will be making a glove as well! Since The Count uses his hands when he talks, I figured I could use a glove too, to make a more realistic performance.
  2. "Orchid" 250 Yard Coats and Clark Thread - Orchid is the closest color to go with the Pink-Lavender fleece.
  3. "Black Velour" Fabric- I will be using this to create the suit and the sleeves for the gloves. It is identical to velvet, it has the same texture, but it's not the same thing. I got it for $6.50 a yard, and that's 50 percent off! I bought 1 yard of it, which is plenty since his suit is going to be baby-sized.
  4. "Black" 125 Yard Coats and Clark Thread - Black thread will be used for the suit, sleeve and the cape!  
  5. "Hunter Green" Baroque Satin - I bought a solid-satin, "Hunter Green" colored. I got it for $2.99 a yard on sale, and it's only 1 yard. This will be used for the outer cape and the collar of the cape.
  6. "Hunter Green" 250 Yard Coats and Clark Thread - Luckily, I got the EXACT same color of thread to match the "Hunter Green" Baroque Satin!
  7. Multicolored Flower Calico - This calico fabric is the closest I can get to match the inner cape for the Count. It may be flowers, but nobody should notice unless they really care! I like the size variation and the colors are the same as the Count's original fabric for the inner part of his cape. There is a yard of this to match up with the Baroque Satin.
  8. "White" Country Classic Quilting Fabric - This may be quilting fabric, but it's 100% cotton, and it will work nicely to do The Count's white undershirt. I will use it for that, and the sleeves for the glove.
  9. "White" 125 Yard Coats and Clark Thread - White thread will be used for the under suit and the sleeves!
  10. Red & Orange Satin Ribbon - I got these to go under his vest of the suit, because you can see red and orange striped fabric behind the vest. These are almost 2 inches wide. I will sew these two colors together with red thread.
  11. Black Buttons - I will probably hot glue these buttons onto his suit and the sleeves of the glove I will use, for a more realistic look.
  12. Plastic Halloween Silly Glasses - I got these for only a dollar at Michael's. You can't go wrong for that price! I just simply popped out a lens, to use as the Count's eyeglass over his left eye!  
  13. 8 Yard "Silver" Gauge Wire - This will be used to create the frame for Count's Eyeglass piece.
  14. "Scotch" Brand Super Glue - I will use this super glue to glue the gauge wire around the plastic eyeglass piece, to create a more realistic and precise look.
  15. Velcro Dots - I will attach one to The Count's hands and the other to The Count's Cape. When the Count walks in, he wraps himself in the cape, like a real vampire. Velcro should do the trick!
  16. Felt - I will use the "Black" and Pink" Felt to create his tongue and mouth. I also selected a "Cream" felt for The Count's fangs!
  17. "Black" Grizzly Fur (On the right side, bottom picture) - I will be using this "Black" Grizzly Fur fabric to create the hair for the Count's head. I could probably use this for the Count's beard.
  18. "Black" Feather Boa - I could probably use this Boa as an alternative for The Count's beard, if the remaining "Black" Grizzly Fur fabric doesn't work out.

Main Materials

Let me start off by saying, this is a VERY expensive project, but it would be more expensive if our Jo-Ann store and Michael's Arts and Crafts didn't have their sales. I saved $93 on the materials in all at Jo-Ann's and I saved over $50 at Michael's Arts and Crafts.

First, here are the main and most important materials I needed in order for this project to work...


  1. Poly-Fil -  I bought 12 ounces of Poly-Fil because I don't need a ton of it to make one puppet.
  2. 1/2 inch-thick Upholstery Foam - This is the main type of foam we sell at our Jo-Ann store. The pattern I am using requires foam only 1/2 an inch thick. There is 2 and a half yards of it, which equals 90 feet. This is the cheapest foam in price, it's $25 for a whole roll, and you can use a coupon most of the time, which I did and I almost got half the price! The foam will be used to create the base of the heads and the bodies of the puppets.
  3. Fiskars Left-Handed Fabric Scissors - Since I am left-handed, I bought a left-handed pair of scissors, which are in the color red.  DO NOT use these on anything else BUT fabric, or you will ruin the sharpness of the scissors.
  4. Black Sharpie Marker - This will be used A LOT on the project. I will trace the outlines of the patterns onto the foam with it. I can also use this to draw eyeballs onto the puppet's eyes later on in the project.
  5. Paint Brush - This will come in handy for Grover and Abby Cadabby.
  6. Exacto Knife - This is a very important tool because it will be used to cut out the complicated shapes traced onto the foam from the head and body patterns.
  7. Hot Glue & Hot Glue Gun - This is probably the most important tool needed because, it will hold the shapes of the foam together to form the head and body. I need to use this to glue the felt onto the mouth boards. I will also need to use this to glue the eyeballs and accessories onto the puppet's heads.

Tuesday, September 17, 2013

Project Sesame Street - The Home-Made Muppet Project!

Hello. 

My name is Justin and I work as an employee of Jo-Ann Fabric and Craft Stores in Vero Beach, Florida. Now, we often have sales, but the ultimate sale began on September 15, 2013 called "The Coupon Commotion". "Coupon Commotion" is the biggest sale honoring September as "National Sewing Month". 

I'd say about 75% of the whole store was on sale, and I thought why not make something out of it? I can get a whole bunch of fabric that's on sale, and whatever is not, I could use a coupon and employee discount on top of it all, no matter what! I was guaranteed to get a bargain that I could not miss!

I personally do not make clothes or garments, I do simple sewing and crafts. My specialty is sewing pillow cases, but I decided to put myself to the test and top that! Why not invest in making puppets, or as I prefer to call them "muppets"!?

Why puppets you may ask? For starters, I always loved Sesame Street! I grew up watching it at the age of 2 years old. My first favorite was Cookie Monster, but when I turned 4 or 5, I changed my favorite to the ultimate, cute, cuddly, blue, furry pal, Grover! I have not changed my favorite ever since, Grover is the funniest and the cutest of all muppets, sorry Elmo!

So, my great cousin's 3rd birthday party is 2 weeks from September 15, so why not make use of the puppets and put on a puppet show for the children's entertainment? But I have to admit, I'd like to keep all the muppets I make on my shelf! You'd never know if they could be used in the future!

Without further or do, let's get started!  

This is my first puppet project, so wish me luck!


All Copyrights go to Sesame Street/Sesame Workshop. Credit goes to Project Puppet for the template and instructions and of course, thanks to my Jo-Ann Fabric and Craft Store & Michael's Arts and Crafts for all the fabric and the materials to make the puppets!